

Ready to master a gorgeous challah bread recipe? You'll only need five simple ingredients: flour, warm water, honey, yeast, and salt. Start by mixing the warm water, honey, and yeast; let it get all frothy for about five minutes. Then combine that mixture with flour and salt until a soft dough forms. Knead it, let it rise, and shape it into beautiful braids. Pop it in the oven, and let the sweet aroma fill your kitchen. Don't forget to add some fun toppings if you want! Want to investigate more ways to make your challah extra delicious?
Main Points
- Challah bread requires simple ingredients: flour, warm water, honey, instant yeast, and salt, making it easy for novice bakers.
- The dough must rise twice for optimal flavor and texture, first for 1 hour and then for 30 minutes after shaping.
- Braiding involves rolling the risen dough into three long strands and pinching the ends together for secure shaping.
- For a golden crust, apply an egg wash made from a beaten egg mixed with water before baking.
- Personalize your challah with toppings like sesame seeds or poppy seeds for added flavor and visual appeal.
Recipe: Challah Bread Baking Tutorial
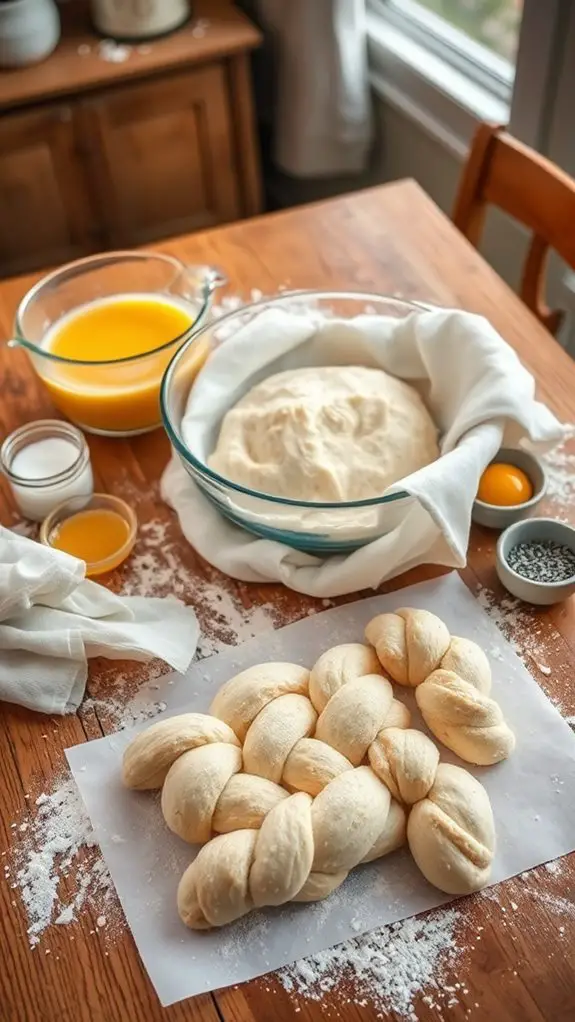
Challah bread isn't only a staple in Jewish cuisine but also a beloved treat enjoyed by many. Its slightly sweet flavor and soft, fluffy texture make it a favorite for gatherings, meals, and festive occasions. This baking tutorial will guide you through the simple steps to create your very own braided challah bread, using just five basic ingredients.
Whether you're a novice baker or looking to refine your skills, this recipe will help you master the art of challah-making with ease. The process of making challah is as enjoyable as it's rewarding. You'll mix together warm water, honey, and yeast to activate the fungus, then incorporate flour and salt to form a smooth dough.
After giving it time to rise, you'll shape the dough into braided loaves that will fill your kitchen with an irresistible aroma. With a little patience and care, you'll soon have a stunning loaf that not only tastes great but also looks impressive on your table.
Ingredients:
- 4 cups all-purpose flour
- 1 cup warm water
- 1/4 cup honey
- 1 packet instant yeast (about 2 1/4 teaspoons)
- 1 teaspoon salt
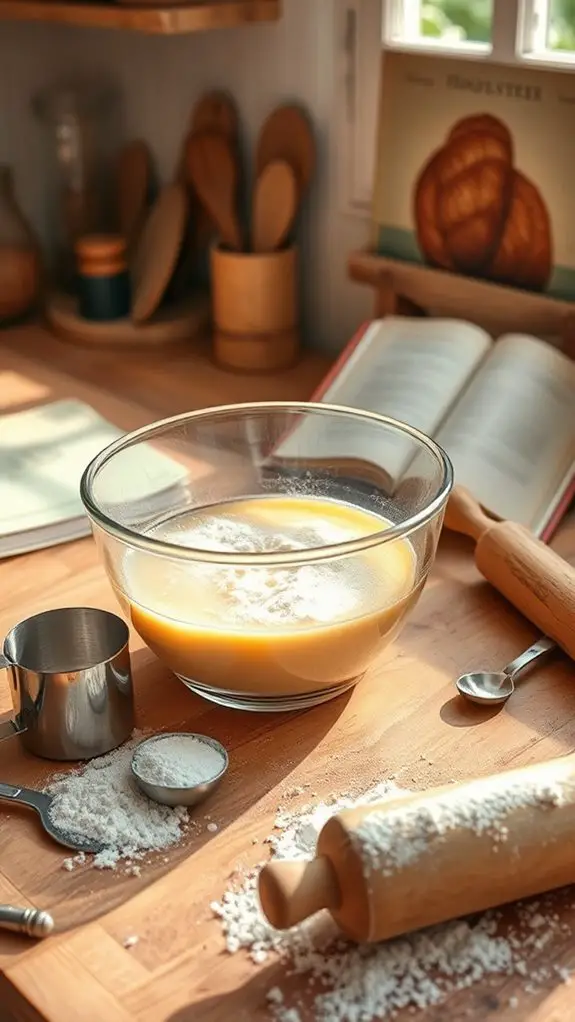
To make the challah bread, begin by mixing the warm water, honey, and instant yeast in a large bowl. Allow the mixture to sit for about 5 minutes until it becomes frothy. Gradually add the flour and salt to the bowl, mixing until a soft dough forms.
Knead the dough on a lightly floured surface for around 10 minutes until it's smooth and elastic. Transfer the kneaded dough to a greased bowl, cover it with a cloth, and let it rise in a warm area for about 1 hour or until it has doubled in size.
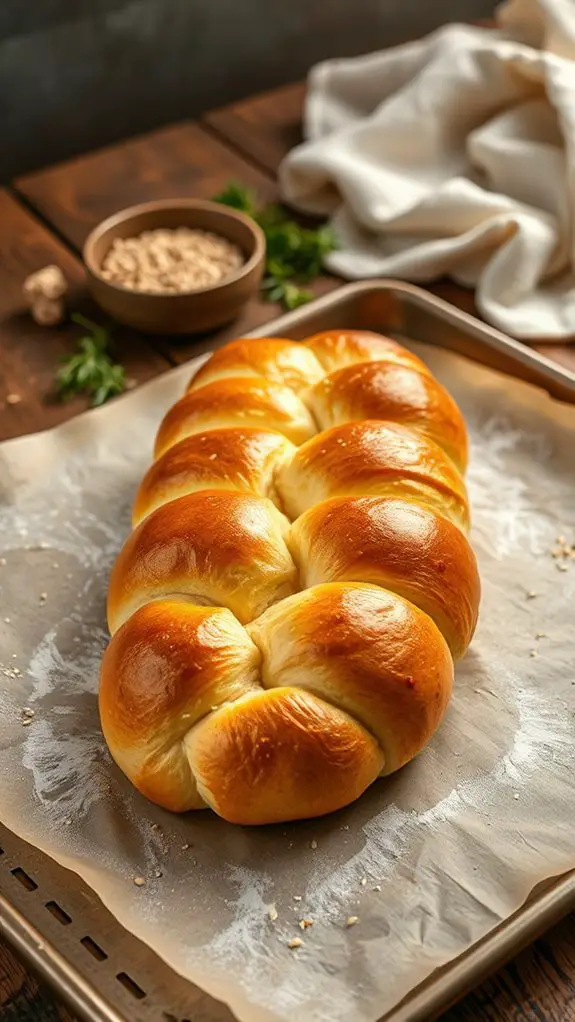
Once risen, divide the dough into three equal pieces and roll each into long strands. Braid the strands together and place the braided loaf on a parchment-lined baking sheet. Allow it to rise again for 30 minutes before baking in a preheated oven at 350°F (175°C) for 25-30 minutes or until the crust is golden brown.
When baking challah, it's important to keep a few tips in mind for the best results. Make sure your ingredients are at room temperature to encourage proper yeast activation, and consider using a warm spot for proofing the dough, especially during colder weather.
For an added touch, you can apply an egg wash (1 beaten egg mixed with a tablespoon of water) before baking, which will give your bread a beautiful golden crust. Feel free to get creative by adding toppings like sesame or poppy seeds.
Enjoy the process, and most importantly, savor the delicious results of your homemade challah!
Cooking Steps
Alright, let's get baking!
You'll start by mixing warm water, honey, and yeast, which is like giving your bread a lovely little wake-up call.
Once that bubbly magic happens, you'll add in the flour and salt, knead the dough until it's super smooth, and then let it rise like it's stretching after a nap—trust me, it's going to be worth it!
Step 1. Combine Water, Honey, Yeast
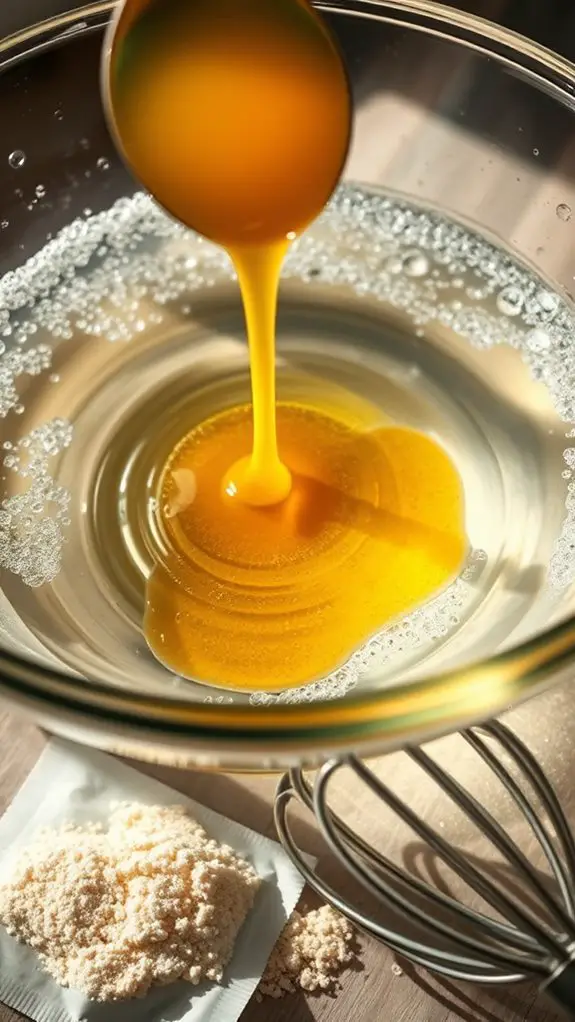
Once you've gathered all your ingredients, it's time to activate the yeast by combining the warm water, honey, and instant yeast in a large mixing bowl.
Pour the warm water in, then drizzle the honey like you're creating a tasty potion. Sprinkle the instant yeast on top, and give it a gentle stir. Let this magical mixture sit for about 5 minutes.
You'll want to watch for bubbles and froth—this means your yeast is waking up and ready to party!
This step is super important because it gets that yeast all excited, which is key for your dough to rise later. If you don't see any bubbles, don't worry! Just double-check your water temperature; it shouldn't be too hot or too cold—think Goldilocks!
While you wait, you might want to dance a little or hum your favorite song to keep the energy up in the kitchen.
Once you see those bubbles, you know you're on the right track. It's like preparing a fluffy, warm cloud ready to transform into delicious bread. Get excited! You're one step closer to making that beautiful challah!
Step 2. Add Flour and Salt
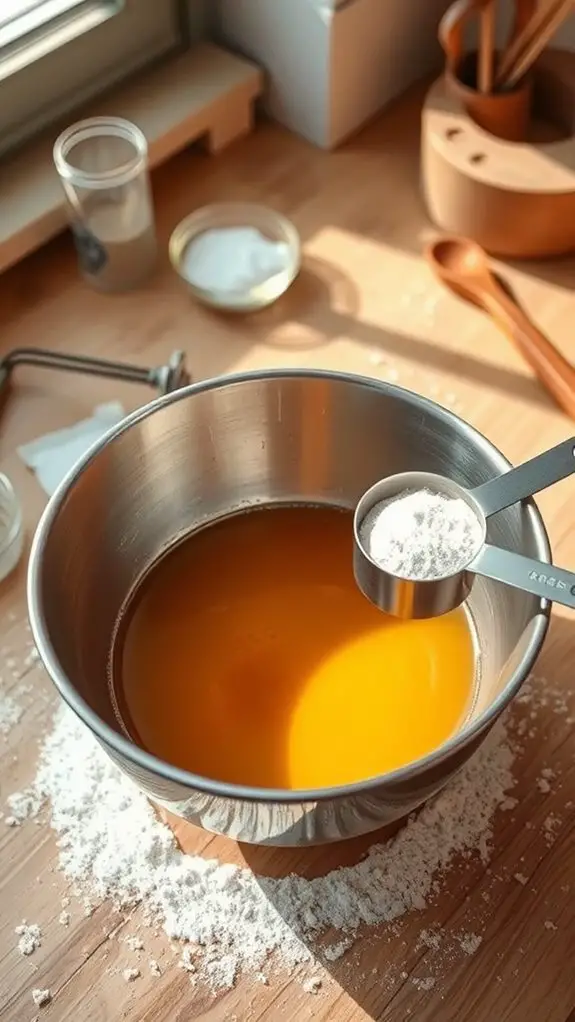
With your yeast mixture bubbling and frothy, it's time to invite flour and salt into the mix. Grab your measuring cups—you're on the way to creating something extraordinary! Carefully pour 4 cups of flour into your bowl, followed by that teaspoon of salt. They're best buddies in this process, helping you get that perfect texture.
Ready to get your hands a little messy? Here's a quick look at what you're working with:
| Ingredient | Measurement | Purpose |
|---|---|---|
| All-purpose flour | 4 cups | Forms the base of your dough |
| Salt | 1 teaspoon | Improves flavor and strengthens dough |
| Water (from yeast) | 1 cup (warm) | Activates yeast for yummy rise |
Mix everything together until you see a dough starting to form. Don't worry if it looks a bit rough at first—it's going to come together beautifully! You'll get a fantastic workout here—stir it well, because those ingredients are gearing up for an extraordinary transformation. Get excited; you're just one step away from a delicious loaf!
Step 3. Knead Dough Until Smooth
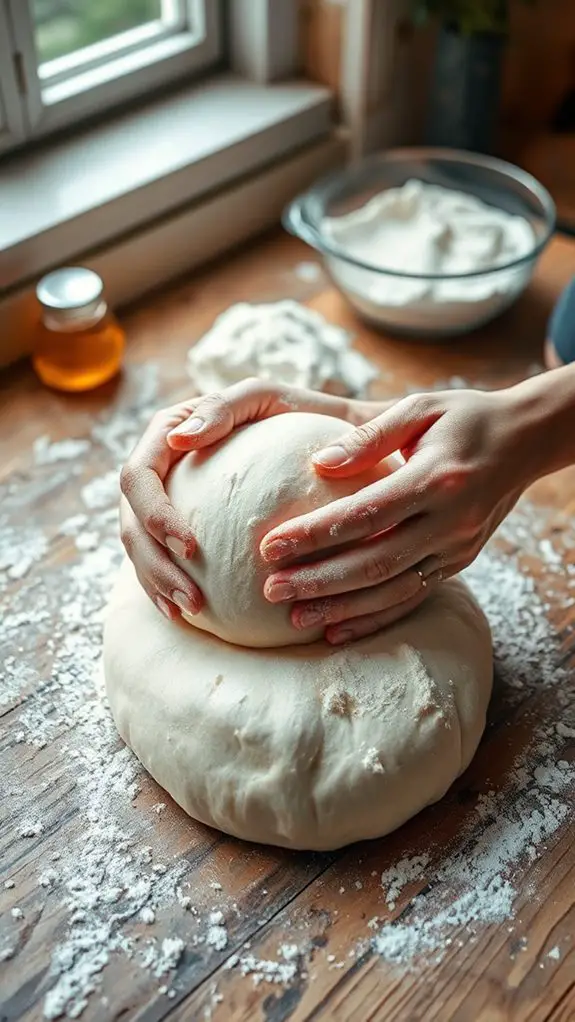
As you plunge into kneading the dough, you'll feel the magic of transformation begin. It's like a workout for your hands, but oh-so-worth it! Grab that dough and turn it onto a floured surface.
Start pushing it down with your palms and folding it over itself. Don't be afraid to get a little messy here—flour everywhere just means you're having fun!
Kneading isn't just about mixing; it's about creating that smooth texture that makes every bite delightful. Keep at it for about 10 minutes! You'll notice the dough changing from sticky and rough to silky and elastic.
It might feel a bit tough at first, but stick with it! You can do this!
If your dough suddenly decides to stick to your fingers, just sprinkle a little more flour and keep going. Imagine you're giving your dough a mini massage, working out all those knots.
Once it feels smooth and stretchy, it's ready for the next step. Trust me, that satisfying moment of kneading is so worth it when you pull out that beautiful loaf later!
Now, let's give it some time to rise!
Step 4. Shape and Braid the Dough
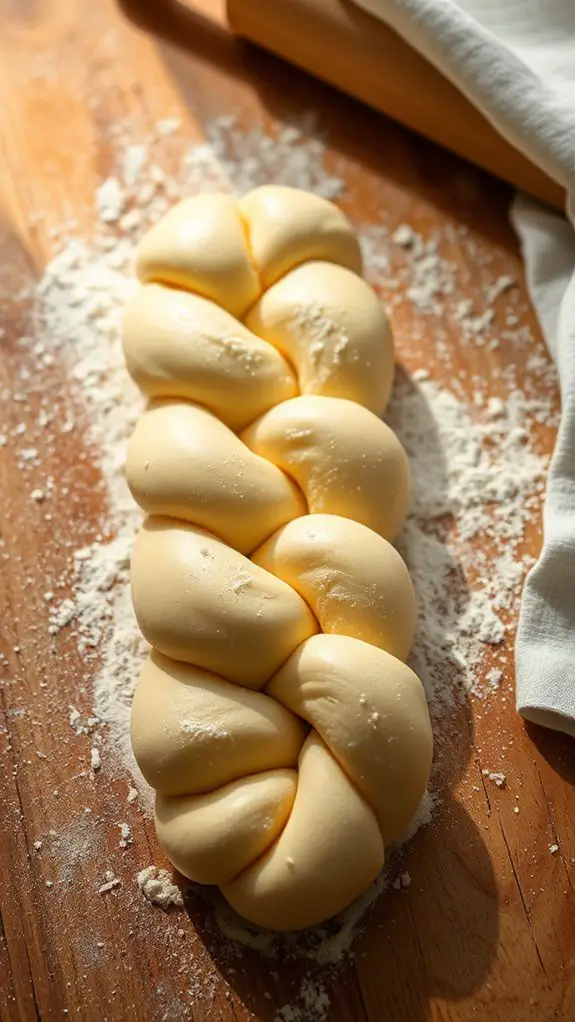
After the dough has risen and doubled in size, it's time to shape and braid it! Take a deep breath—you're about to create something beautiful. Start by dividing the dough into three equal pieces. Use your hands to roll each piece into long strands, about 12-14 inches each. It doesn't have to be perfect; just have fun with it!
Now, here comes the fun part: braiding! Lay the strands side by side, pinch the top ends together, and start braiding. Cross the right strand over the middle, then the left strand over the new middle. Repeat this until you reach the ends, then pinch them together.
Let's break this down in a handy table:
| Step | Action |
|---|---|
| 1 | Divide dough into three equal pieces |
| 2 | Roll into long strands |
| 3 | Pinch top ends together and start braiding |
| 4 | Pinch ends together after braiding |
Once you've braided it, place your lovely loaf on a parchment-lined baking sheet. You're one step closer to a delicious challah!
Step 5. Let Dough Rise Again
Once you've braided your dough, it's essential to give it a second rise to improve its texture and flavor. This part isn't just a waiting game; it's where the magic happens! You want your dough to puff up and become light and airy, which will make each bite a scrumptious treat.
Place your beautifully braided loaf on a parchment-lined baking sheet. Cover it with a clean kitchen towel—this keeps the moisture in and prevents the crust from getting hard. Now, let it rise again for about 30 minutes. It might feel like an eternity, but trust me, it's worth it!
You'll see the dough swell, growing and stretching, ready to transform into a heavenly bread. While you wait, you can plan your toppings—sesame seeds, poppy seeds, or maybe even a sprinkle of cinnamon sugar?
And don't forget to preheat your oven to 350°F (175°C) so it's nice and toasty when your dough's ready. When that timer's up, it's showtime! You'll see your gorgeous creation rise and glow in the oven, and your kitchen will smell wonderful.
Enjoy the anticipation—soon, you'll have a delicious challah to share!
History
Challah bread has a rich history rooted in Jewish tradition and culture, serving not just as a meal staple, but also as a symbol of ritual and spirituality. You mightn't know this, but each time you braid your challah, you're following a tradition that dates back thousands of years!
It's usually eaten on the Sabbath and during holidays, representing the joy of the occasion.
The word "challah" actually comes from the Hebrew text, where it refers to the portion of dough set aside as an offering. Talk about meaningful baking!
Over time, bakers started creating beautiful braided loaves, and today, it's acknowledged for both its incredible taste and its vibrant symbolism. You can often tell when a challah is about to be served, just by the sweet aroma wafting through the kitchen.
And don't forget, every region has its twist on challah, adding personal flair to this time-honored recipe.
Whether you enjoy it plain or with toppings, it's a delightful way to connect with history. So, the next time you enjoy a piece of challah, savor not just the flavor, but your link to a rich past!
Final Thoughts

Baking challah not only offers a delicious treat but also connects you to a centuries-old tradition that enriches your culinary experience. When you take the time to make this beautiful bread, you're not just preparing a meal; you're creating a bit of history right in your kitchen. Who knew something so simple could bring so much joy and connection?
Now, let's talk about how your kitchen might come alive with the aroma of freshly baked challah. Just picture it: your friends and family gathered around, their eyes wide with anticipation as they wait for that golden loaf to come out of the oven. It's like a scene straight from a movie!
And if you decide to add toppings, like sesame seeds, you're giving your bread that extra flair.
Don't shy away from putting your spin on this recipe; it's all about having fun and discovering what you like. So, roll up those sleeves, grab your ingredients, and immerse yourself!
In the end, what matters most is enjoying the process and sharing each bite of your glorious challah with those you love. Happy baking!
Conclusion
Now that you've mastered the art of making challah, you're ready to impress everyone with your baking skills! Just picture it: a beautiful, golden loaf sitting on your table, everyone asking for seconds. Whether it's for a special occasion or just because, this bread brings a bit of magic to any meal. So, roll up your sleeves and keep on baking! Who knows, you might just start a new family tradition, one delicious braid at a time!