

You're gonna love this gluten-free banana bread recipe! All you need are three ripe bananas, two cups of gluten-free rolled oats, a quarter cup of honey or maple syrup, a teaspoon of baking soda, and a pinch of salt. Simply blend everything until it's smooth, pour it into a greased loaf pan, and bake at 350°F for about 45-50 minutes. The result? A soft, moist bread that smells incredible and tastes even better! Plus, you can throw in some nuts or chocolate chips for extra fun. Stick around, and you'll discover more fantastic tips and tricks for your baking journey!
Main Points
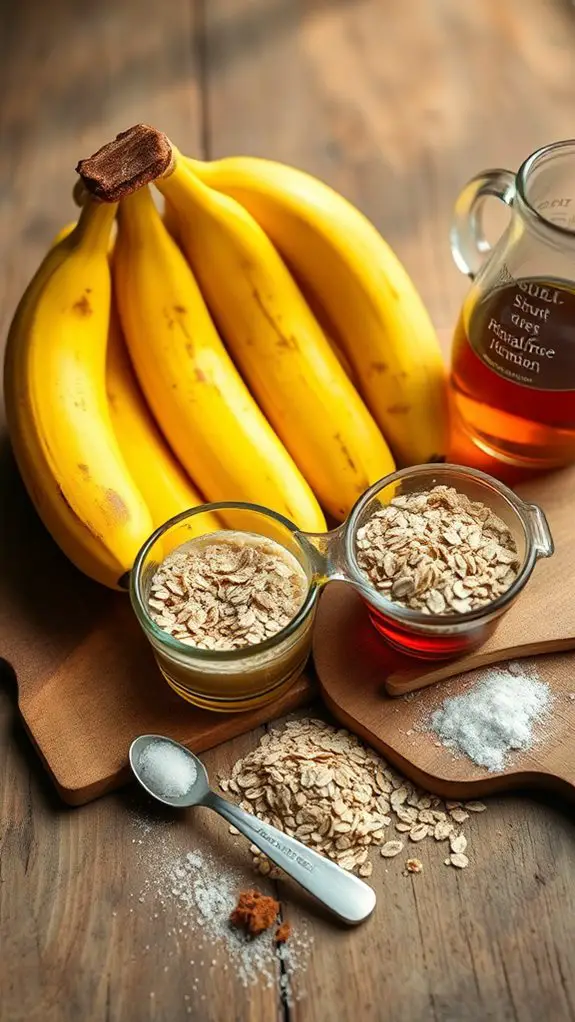
- Gather 5 simple ingredients: ripe bananas, gluten-free rolled oats, honey/maple syrup, baking soda, and salt for a delicious banana bread.
- Blend ripe bananas and oats with the other ingredients until a smooth, thick batter forms.
- Pour the batter into a greased loaf pan and ensure it's evenly distributed before baking.
- Bake at 350°F (175°C) for 45-50 minutes, testing for doneness with a toothpick.
- Allow the bread to cool for 30 minutes before slicing for optimal texture and flavor.
Recipe: Gluten-Free Banana Bread Ingredients
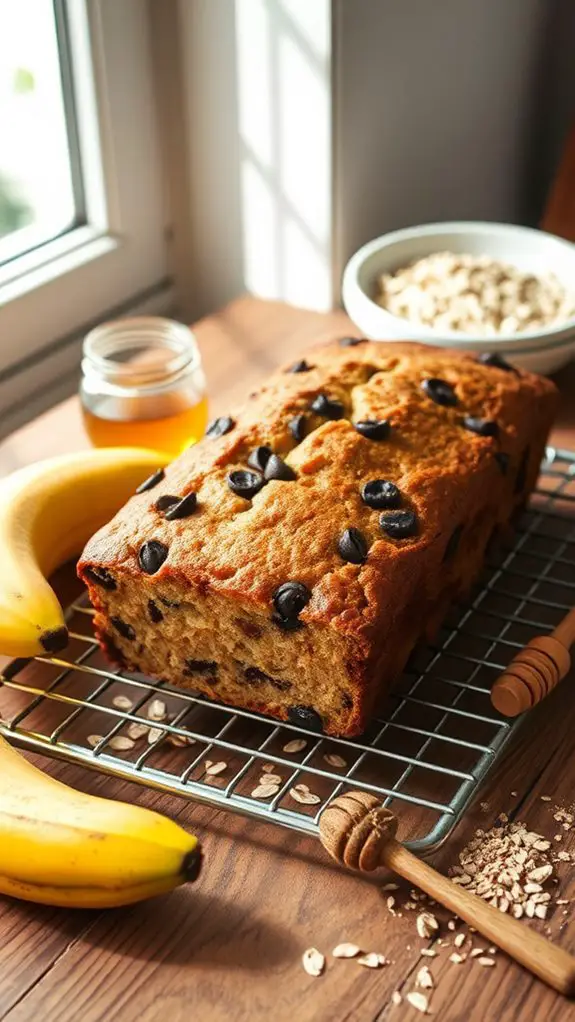
Banana bread is a beloved classic that has been enjoyed for generations, and for those with dietary restrictions, creating a gluten-free version is both satisfying and delicious. This recipe combines the natural sweetness of ripe bananas and the hearty texture of gluten-free rolled oats to produce a moist, flavorful loaf that everyone will appreciate.
The simplicity of this recipe makes it perfect for breakfast, a snack, or even dessert, allowing you to indulge without the worry of gluten.
What makes this gluten-free banana bread even more appealing is its versatility. You can easily modify it to suit your taste preferences by adding your favorite mix-ins like nuts, chocolate chips, or spices. Whipping up this delightful treat only takes a few steps, making it an ideal choice when you're in a hurry or looking to use up overripe bananas you have on hand.
Ingredients:
- 3 ripe bananas
- 2 cups gluten-free rolled oats
- 1/4 cup honey or maple syrup
- 1 teaspoon baking soda
- 1/2 teaspoon salt
To make the gluten-free banana bread, start by preheating your oven to 350°F (175°C) and lightly greasing a loaf pan. In a blender or food processor, combine the ripe bananas, gluten-free rolled oats, honey or maple syrup, baking soda, and salt.
Blend the ingredients until they form a smooth and well-combined batter. Pour the mixture into the prepared loaf pan and place it in the oven to bake for 45-50 minutes. Check for doneness by inserting a toothpick into the center; it should come out clean.
Once baked, allow the banana bread to cool for a few minutes before slicing and serving.
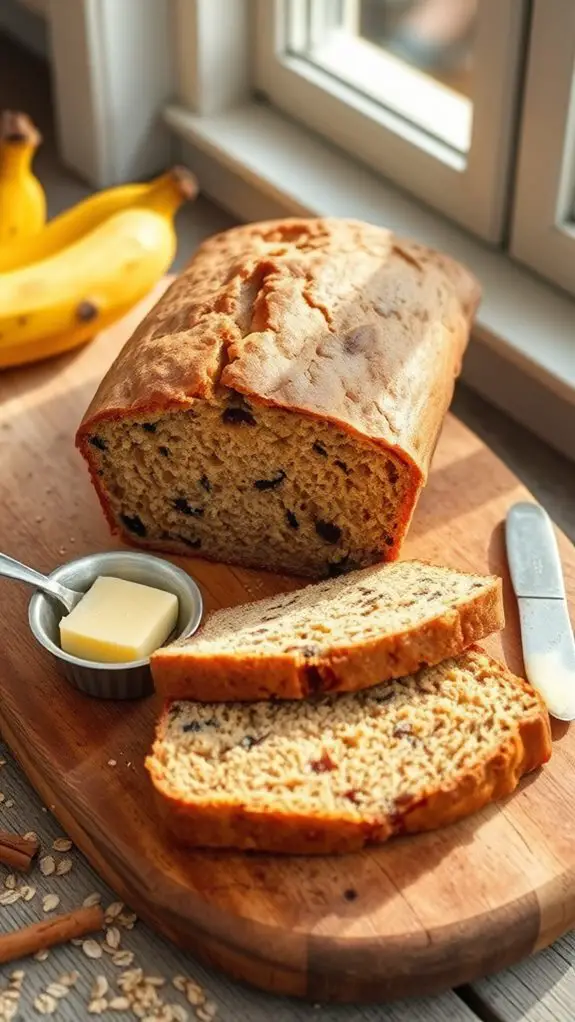
When making this gluten-free banana bread, it's essential to use certified gluten-free oats to prevent any cross-contamination. For those who prefer a sweeter taste, feel free to adjust the amount of honey or maple syrup according to your liking.
To further improve the flavor, consider incorporating spices such as cinnamon or nutmeg. Additionally, you can add chopped nuts or chocolate chips to the batter for an extra burst of flavor and texture.
Enjoy your banana bread warm, toasted, or topped with your favorite spread!
Cooking Steps
Alright, let's get to the fun part—cooking your gluten-free banana bread!
First, you'll preheat your oven to 350°F because nobody likes a cold loaf, right?
Then, blend those bananas and oats until smooth, pour the batter into the pan, and watch the magic happen as it bakes into a delicious treat for your taste buds!
Step 1. Preheat Oven to 350°F
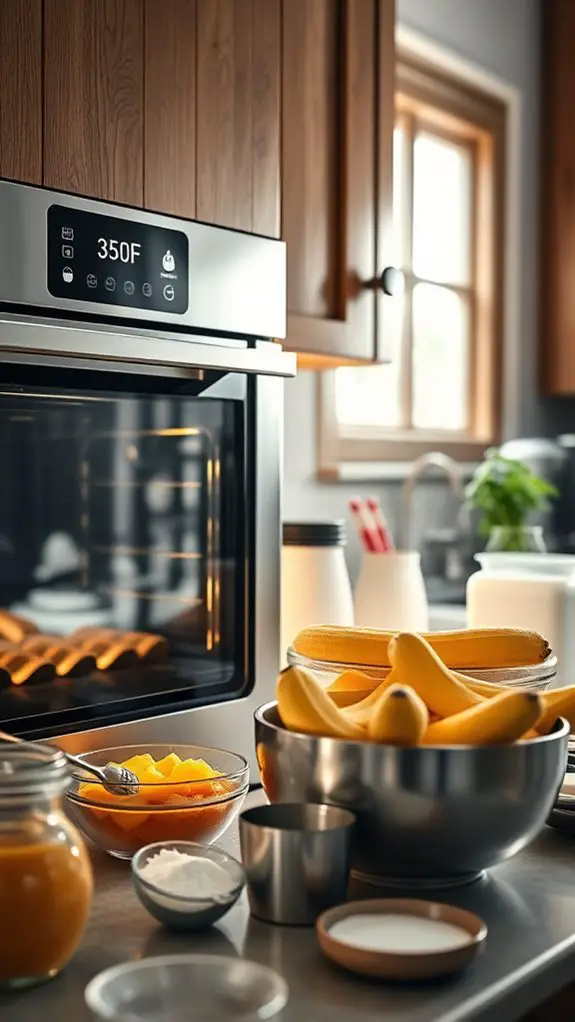
Before diving into mixing your ingredients, you'll want to preheat your oven to 350°F (175°C). This step is super important, as it guarantees your gluten-free banana bread bakes evenly and comes out fluffy.
Plus, nothing beats the smell of warm bread wafting through your kitchen!
To preheat your oven, simply turn the dial or press the button until it shows 350°F, and let it do its thing. In the meantime, you can gather your ingredients—like those ripe bananas that are practically begging to become something scrumptious!
While waiting, it's a good idea to lightly grease your loaf pan. You don't want your masterpiece to stick and risk an epic bread fail, right? A little oil or cooking spray works wonders for a smooth release.
As your oven heats up, you'll feel that excited anticipation—like waiting for a surprise party!
Once the oven reaches that perfect temperature, you're all set to blend your ingredients and get one step closer to enjoying a slice of delicious, homemade gluten-free banana bread.
Step 2. Blend Bananas and Oats
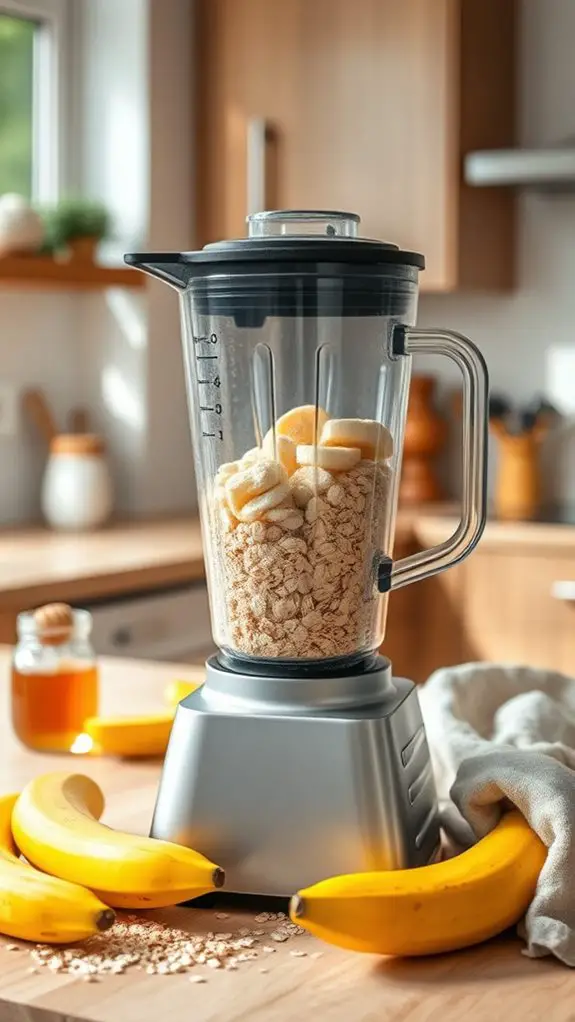
Start by gathering your ripe bananas and gluten-free rolled oats. You'll want those bananas nice and mushy, 'cause that's where all the flavor's hiding!
Grab your trusty blender or food processor and toss in the bananas. They should almost squish in your hands—perfect for this recipe! Add in the gluten-free rolled oats; they're the secret star of this show.
Drizzle in your honey or maple syrup, toss in the baking soda, and sprinkle in the salt. Now, blend it all together until it's smooth and creamy—a bit like a banana smoothie, but way better! This mixture should be thick but pourable, just like a batter should be. It's actually kind of fun watching it blend, right?
Once everything is combined, give it a little taste test (just a tiny lick, so you don't overdo it!).
Get ready to create something incredible. You've got this! Just a few more steps before you reveal your scrumptious gluten-free banana bread. Mixing everything together is just the start, so hang tight for the next delicious, mouth-watering instruction!
Step 3. Pour Batter Into Pan
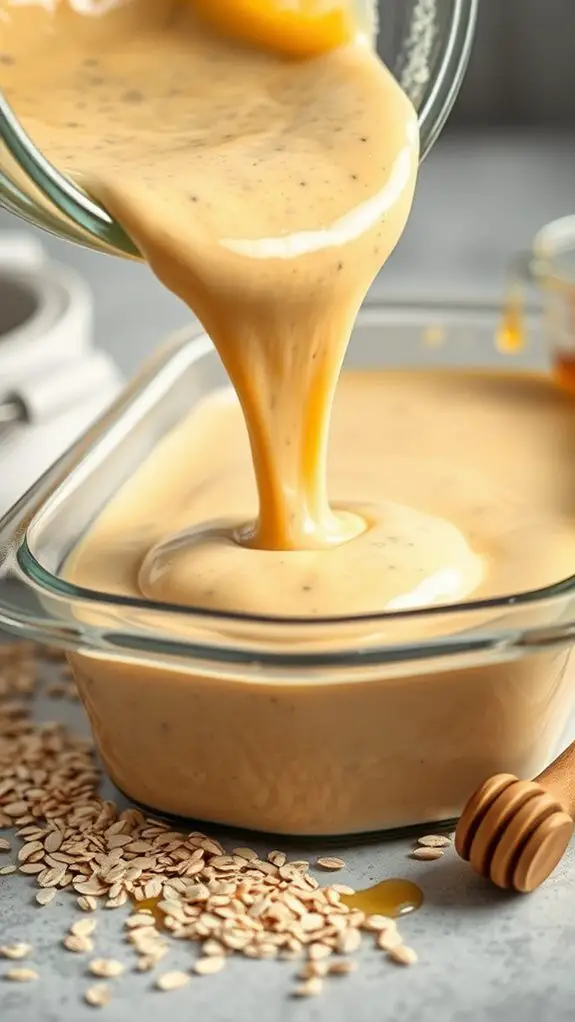
Now that your banana mixture is perfectly blended, it's time to pour it into your prepared loaf pan.
Grab your trusty spatula and give the batter a little stir. You want to make sure everything's mixed well and ready for its big moment.
Carefully, tilt your blender or food processor over the loaf pan. Watch as the luscious batter flows out, feeling like a proud chef in your own kitchen!
Use that spatula to scrape down the sides and get every last drop of banana goodness into the pan. No one wants to waste all that deliciousness, right?
Once the batter's all settled in, give the pan a gentle shake to level things out. This'll help your banana bread bake evenly and look fabulous when it comes out.
You can tap the pan on the counter a couple of times—this helps any air bubbles escape.
Now, step back and admire your work. You've created something extraordinary!
Just wait until you see the deliciousness that awaits you after baking. But that's for the next step—you're almost there!
Step 4. Bake for 45-50 Minutes
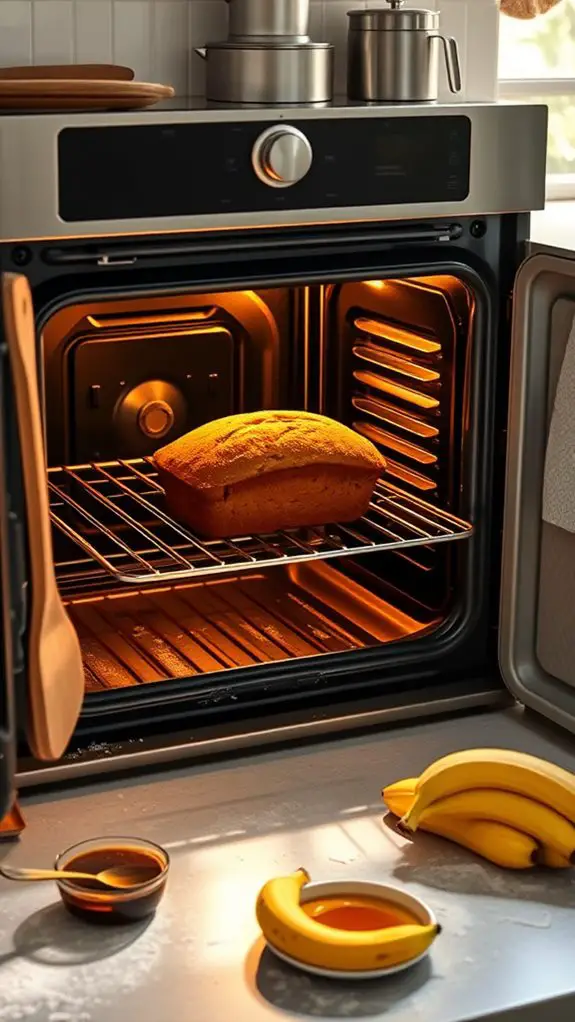
How long should you let your banana bread bake? You'll want to pop that batter into the oven and bake it for about 45 to 50 minutes. Yes, that's a bit of a wait, but trust me, it's totally worth it!
While it's baking, you can smell the deliciousness filling your kitchen—it's like a warm hug!
After 45 minutes, grab a toothpick and do a little test. Stick it into the center of the bread. If it comes out clean, you're golden! If it's still gooey, just give it a few more minutes. Every oven's a little different, so don't be afraid to keep an eye on it.
Once it's done baking, take it out and let it sit for a couple of minutes. The anticipation of that first slice is exciting, but remember, patience is key!
Your gluten-free banana bread is almost ready to shine. The crust should be golden-brown, and the aroma will make your mouth water!
Step 5. Cool Before Slicing
The joy of baking can quickly turn into impatience when that delicious banana bread is finally out of the oven. You might be tempted to grab a knife and slice right in, but hold on! It's essential to let your banana bread cool before cutting it. Otherwise, it could crumble or get mushy, and we definitely want that perfect slice!
Let it rest for a good 10-15 minutes in the pan, then carefully transfer it to a wire rack. This way, the steam escapes, and you'll end up with a magically textured loaf. Now you can take a little break and smell that heavenly aroma wafting through your kitchen!
Here's a quick reference table to help you with the cooling process:
| Step | Time | Tips |
|---|---|---|
| Cool in the pan | 10-15 minutes | Use a spatula for easy release |
| Transfer to rack | Immediately | Confirm it's stable enough |
| Cool completely | 30 minutes | Walk away, no peeking! |
| Slice and enjoy | Anytime! | Best with butter or jam |
Once it's cooled completely, you'll have the perfect banana bread, ready to be gobbled up! Enjoy!
History
Originating in the early 20th century, gluten-free baking emerged as a response to the growing awareness of celiac disease and gluten sensitivities. Individuals began to realize that certain foods weren't just causing discomfort—they were making them genuinely ill. This led to the quest for tasty gluten-free alternatives.
Enter the world of gluten-free banana bread! Imagine being in a kitchen filled with the sweet aroma of baking bananas, oats, and honey. Yum! As people started experimenting with different flours—like almond, coconut, and, yes, oats—they discovered that they could still enjoy their favorite baked goods without all the gluten drama.
Banana bread became a superstar in this movement. The combination of ripe bananas and wholesome ingredients not only made it delicious, but it also helped reduce food waste. Instead of tossing overripe bananas, you could whip up a scrumptious loaf everyone could devour.
As recipes evolved, gluten-free banana bread became more than just a substitute; it turned into a delightful treat that could win over even the toughest critics.
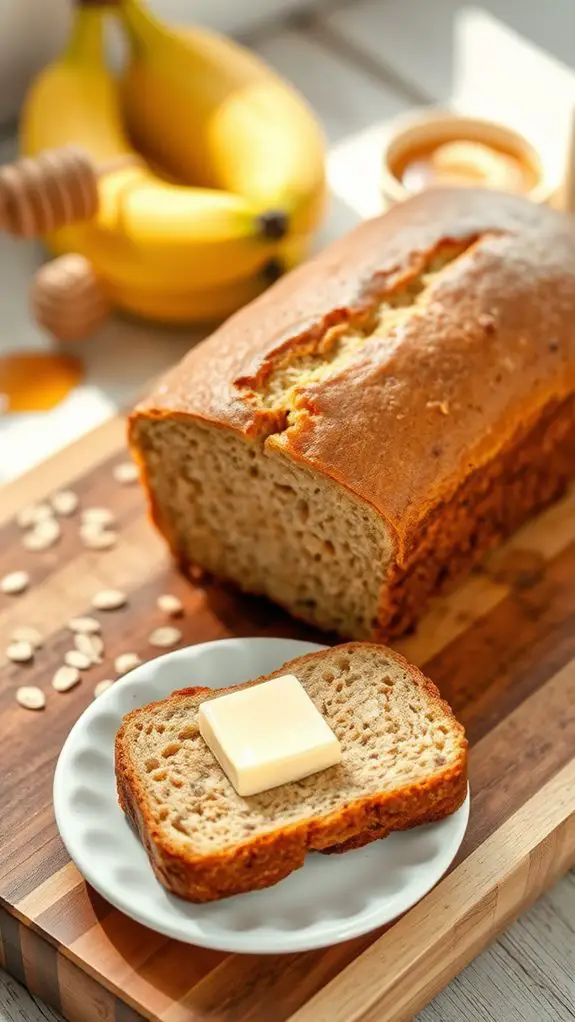
Final Thoughts
While gluten-free banana bread has its roots in addressing dietary needs, it has blossomed into a beloved treat that anyone can enjoy. Imagine biting into a warm, soft slice, with the sweet aroma wafting through your kitchen. Trust me, you won't be able to resist!
This recipe is super easy and requires just five simple ingredients. Plus, it's a great way to use up those overripe bananas lurking in your fruit bowl.
Don't worry about it tasting "gluten-free" either – it's packed with flavor and moisture, thanks to the ripe bananas and oats. You can even get creative and toss in some chocolate chips or nuts for that extra crunch. It's like a little surprise in every bite!
Whether you're having it for breakfast, a snack, or even dessert, you'll feel great about what you're eating. Serve it fresh out of the oven, or pop it in the toaster for a warm treat later.
Conclusion
So there you have it—your very own gluten-free banana bread masterpiece! It's super easy to make and tastes wonderful, like a warm hug on a chilly day. You can tweak it nevertheless you want, so let your creativity run wild! Share it with friends and family, or keep it all to yourself (we won't tell!). Either way, get ready for everyone to come running for a slice. Happy baking, and enjoy every delicious bit!